
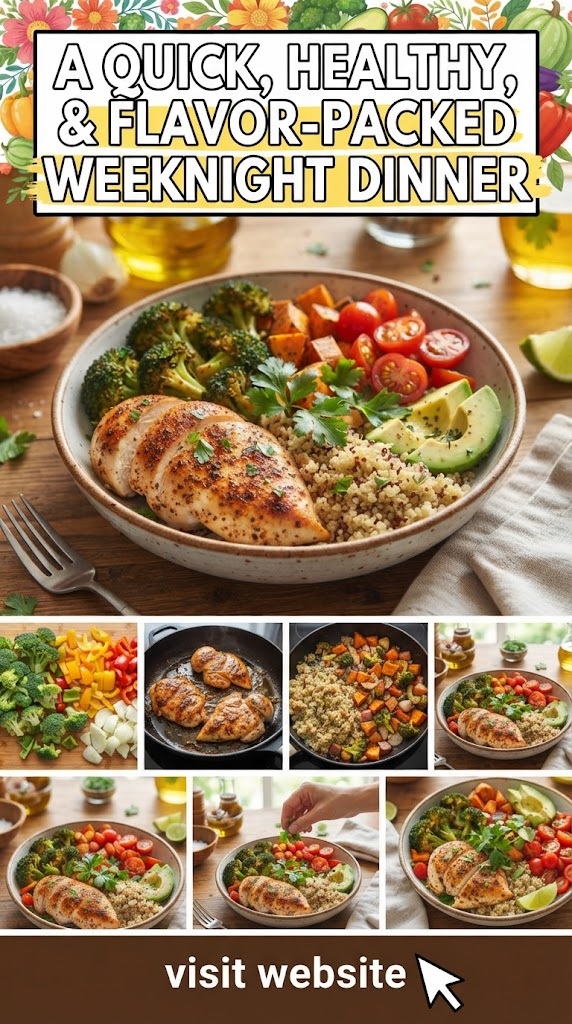

The modern kitchen is often a place of conflict—a battleground between the desire for a nutritious, home-cooked meal and the reality of a busy, time-crunched schedule. For many families in the United States, the weeknight dinner rotation can become repetitive and uninspiring. Enter the Cheesy Fajita Chicken Breast, a dish that bridges the gap between gourmet flavor and absolute simplicity. This recipe transforms the humble chicken breast into a vibrant, sizzling, and gooey masterpiece that rivals your favorite Tex-Mex restaurant.
In this comprehensive guide, we will explore everything you need to know to master this dish. From selecting the right poultry and crafting the perfect spice rub to understanding the science of the “perfect melt,” this article is your roadmap to a meal that is high in protein, low in carbohydrates, and overflowing with flavor.
Why Fajita Chicken Breasts Are the Perfect Meal
Before we dive into the ingredients, it is important to understand why this specific preparation has become a staple in American households. The traditional fajita is served as sliced strips of meat with peppers and onions. While delicious, the “stuffed” or “topped” chicken breast version offers a more sophisticated presentation and keeps the meat significantly juicier.
- High Protein, Low Carb: This dish is a dream for those following Keto, Paleo, or general low-carb lifestyles. By focusing on lean protein and fresh vegetables, you eliminate the heavy fillers found in many other comfort foods.
- Versatility: Whether you want to eat it straight out of the pan, slice it over a salad, or tuck it into a warm flour tortilla, the options are endless.
- Family-Friendly: Kids love the combination of melted cheese and mild spices, making it one of the few “healthy” meals that won’t result in complaints at the dinner table.
- Minimal Cleanup: If prepared correctly in a cast-iron skillet or a single baking dish, cleanup is a breeze.
The Essential Ingredients: Quality Matters
To achieve a restaurant-quality result, the quality of your ingredients is paramount. Let’s break down the components of the perfect cheesy fajita chicken.
The Chicken
Look for organic or air-cooled chicken breasts. These tend to have less water weight, meaning they will sear better in the pan rather than steaming in their own juices. Ensure the breasts are of uniform size so they cook at the same rate.
The Bell Peppers and Onions
The “holy trinity” of fajitas consists of red, green, and yellow bell peppers along with red or white onions. The colors aren’t just for aesthetics; red and yellow peppers are sweeter, while green peppers provide a slight bitterness that cuts through the richness of the cheese.
The Cheese Factor
Not all cheeses are created equal. For the ultimate “cheese pull” and flavor profile, consider a blend:
- Monterey Jack: Excellent melting properties and a mild flavor.
- Sharp Cheddar: Adds a necessary tang.
- Queso Quesadilla: An authentic Mexican melting cheese that is incredibly creamy.
- Pepper Jack: For those who want a little extra kick.
The Homemade Fajita Spice Blend
Skip the store-bought packets which are often loaded with cornstarch and excessive sodium. A DIY blend allows you to control the heat and the depth of flavor. You will need:
- Chili Powder: The base of the flavor.
- Cumin: For that smoky, earthy aroma.
- Smoked Paprika: Adds a layer of complexity that regular paprika lacks.
- Garlic and Onion Powder: For savory depth.
- Dried Oregano: Preferably Mexican oregano for a more citrusy note.
- Salt and Cracked Black Pepper: Essential flavor enhancers.
Step-by-Step Instructions: The Master Method
There are two primary ways to cook this: the “Stuffed Method” or the “One-Pan Melt Method.” We will focus on the One-Pan Melt Method as it is the easiest for beginners and ensures the chicken stays incredibly moist.
Step 1: Preparation and Marinating
Start by patting your chicken breasts dry with paper towels. Moisture is the enemy of a good sear. Rub the chicken generously with olive oil and your homemade spice blend. Let it sit for at least 15–20 minutes at room temperature. This allows the spices to penetrate the meat and ensures the chicken isn’t cold when it hits the pan, which prevents toughening.
Step 2: Searing the Chicken
Heat a large cast-iron skillet over medium-high heat. Add a tablespoon of high-smoke-point oil (like avocado or grapeseed oil). Place the chicken breasts in the skillet. Sear for 5–6 minutes on one side until a golden-brown crust forms. Flip the chicken.
Step 3: Sautéing the Vegetables
Push the chicken to the sides of the pan (or remove them temporarily if your pan is small). Add the sliced peppers and onions to the center. Sauté them in the leftover juices and spices until they are “crisp-tender”—meaning they have some char but still retain a bit of bite.
Step 4: The Cheesy Finish
Re-arrange the chicken so it sits atop the bed of peppers and onions. Top each breast with a generous handful of your cheese blend.
Step 5: The Melt and Bake
Transfer the oven-safe skillet into a preheated oven at 400°F (200°C) for about 10–12 minutes. This finishes the internal cooking of the chicken while melting the cheese into every nook and cranny of the vegetables. Use a meat thermometer to ensure the chicken reaches an internal temperature of 165°F (74°C).
The Science of Juicy Chicken: Tips and Tricks
The biggest complaint with chicken breast is that it can become dry and “woody.” Here is how the experts avoid that:
1. The Brining Secret
If you have extra time, soak your chicken breasts in a saltwater brine (4 cups water to 1/4 cup salt) for 30 minutes before seasoning. This alters the protein structure, allowing the cells to hold more moisture during the cooking process.
2. Temperature Management
Never guess when chicken is done. An instant-read thermometer is the most important tool in your kitchen. Pull the chicken out of the oven at 160°F; the “carry-over cooking” while the meat rests will bring it to the safe 165°F mark without drying it out.
3. The Importance of Resting
Once the chicken comes out of the oven, let it rest for at least 5 minutes before cutting. This allows the juices to redistribute. If you cut it immediately, all that moisture will run out onto the plate, leaving you with dry meat.
Flavor Variations to Try
While the classic fajita profile is legendary, you can adapt this recipe to suit different cravings:
- The “Habanero Heat”: Add diced habaneros or serrano peppers to the vegetable mix and use Pepper Jack cheese.
- The “Citrus Burst”: Add lime zest and a splash of orange juice to the marinade for a bright, Floribbean twist.
- The “Bacon Fajita”: Top the cheese with crispy bacon bits for a smoky, salty crunch.
- The “Creamy Fajita”: Spread a thin layer of cream cheese on the chicken before adding the peppers and the melting cheese for an ultra-decadent result.
Perfect Side Dish Pairings
While this cheesy fajita chicken is a meal in itself, these side dishes can elevate the experience:
Cilantro Lime Cauliflower Rice
For the low-carb crowd, cauliflower rice sautéed with lime juice and fresh cilantro is the perfect light accompaniment. It soaks up the juices from the chicken without adding heavy calories.
Authentic Mexican Street Corn (Elote)
Grilled corn on the cob slathered in mayo, cotija cheese, and chili powder provides a sweet and savory contrast to the spicy chicken.
Black Bean and Corn Salad
A cold salad made with black beans, corn, red onion, and a cumin-lime vinaigrette adds a refreshing crunch to the meal.
Homemade Guacamole and Salsa Verde
No fajita dish is complete without healthy fats. Freshly mashed avocado with lime and sea salt, paired with a tangy tomatillo-based salsa verde, cuts through the richness of the melted cheese.
Meal Prep and Storage Guide
This recipe is a meal prepper’s dream. Because the chicken is protected by a layer of cheese and vegetables, it reheats much better than plain grilled chicken.
- Fridge Life: Store in an airtight container for up to 4 days.
- Freezing: You can freeze the cooked chicken, though the texture of the bell peppers may become softer upon thawing. It is best to freeze the seasoned raw chicken and vegetables together in a vacuum-sealed bag for an “instant” freezer-to-skillet meal later.
- Reheating Tip: Avoid the microwave if possible, as it can make the chicken rubbery. Instead, place the chicken in a covered skillet with a splash of water or broth over low heat until the cheese is bubbly again.
Nutritional Breakdown and Health Benefits
Let’s look at why this dish is often recommended by nutritionists:
- Chicken Breast: An excellent source of lean protein, which is vital for muscle repair and satiety.
- Bell Peppers: Loaded with Vitamin C—actually containing more per serving than oranges. They are also high in antioxidants like quercetin and luteolin.
- Onions: Contain chromium, which assists in blood sugar regulation, and sulfur compounds that support heart health.
- Healthy Fats: While cheese contains saturated fat, using a moderate amount provides calcium and keeps you full, preventing mindless snacking later in the evening.
Common Mistakes to Avoid
- Overcrowding the Pan: If you put too much in the skillet at once, the temperature drops, and the chicken steams instead of searing. Cook in batches if necessary.
- Using Pre-Shredded Cheese: Pre-shredded cheese is coated in potato starch or cellulose to prevent clumping. This prevents it from melting smoothly. For the best result, buy a block and shred it yourself.
- Cutting the Veggies Too Thin: If the peppers and onions are cut into paper-thin slivers, they will turn to mush in the oven. Aim for 1/4 inch strips to maintain texture.
Frequently Asked Questions (FAQ)
Can I use chicken thighs instead of breasts? Absolutely. Chicken thighs are more forgiving and stay moist longer due to their higher fat content. You may need to increase the cooking time by a few minutes.
How can I make this dairy-free? You can substitute the cheese with a high-quality vegan melting cheese or omit it entirely and top the dish with a generous amount of sliced avocado for creaminess.
Is this recipe spicy? The recipe as written is mild to medium. To make it truly mild, remove the seeds from the peppers and reduce the amount of chili powder. To make it hot, add cayenne pepper or red pepper flakes to the spice rub.
What is the best skillet to use? A cast-iron skillet is the gold standard for fajitas because it retains heat exceptionally well and can transition from the stovetop to the oven seamlessly.
The Cultural Context: Tex-Mex in the American Kitchen
The “fajita” has an interesting history. Originally, it referred to the “faja” or “belt”—the skirt steak used by Mexican vaqueros (cowboys) in Texas. Over time, the concept evolved to include chicken, shrimp, and even portobello mushrooms. The “cheesy” adaptation is a quintessential American twist, combining the bold spices of the Southwest with the comfort-food sensibilities of the Midwest.
By making this at home, you aren’t just cooking a meal; you’re participating in a rich culinary tradition that celebrates the fusion of cultures. It’s a testament to how simple ingredients, when treated with respect and the right technique, can create a world-class dining experience.
Conclusion: Bring the Sizzle Home
Cooking doesn’t have to be complicated to be extraordinary. The Cheesy Fajita Chicken Breast is a testament to that philosophy. It hits every sensory note: the visual appeal of colorful peppers, the aromatic draw of cumin and garlic, the satisfying crunch of a good sear, and the indulgent pull of melted cheese.
Next time you find yourself staring at a pack of chicken breasts in the fridge, wondering how to make them exciting, remember this recipe. It’s more than just a meal; it’s a reliable, delicious solution for the modern cook. Grab your skillet, fire up the stove, and bring the vibrant flavors of the Southwest into your home tonight. Your family—and your taste buds—will thank you.
Summary Checklist for Success:
- Use an instant-read thermometer (Target 165°F).
- Hand-grate your cheese for the best melt.
- Don’t skip the resting period.
- Sauté veggies until crisp-tender, not mushy.
- Use a cast-iron skillet if available for the best sear.
Whether you are hosting a small dinner party or just trying to survive a Tuesday night, this cheesy and easy meal is guaranteed to become a new favorite. Enjoy the process, experiment with the spices, and most importantly, enjoy every cheesy bite!